Landscape photography is an art form that requires patience, technical skill, and a good eye for composition. As a beginner, stepping into this field can be both exciting and overwhelming. In this comprehensive guide, we'll explore essential techniques to help beginners capture stunning landscape photographs that tell a story and evoke emotion.
Understanding the Basics: Equipment
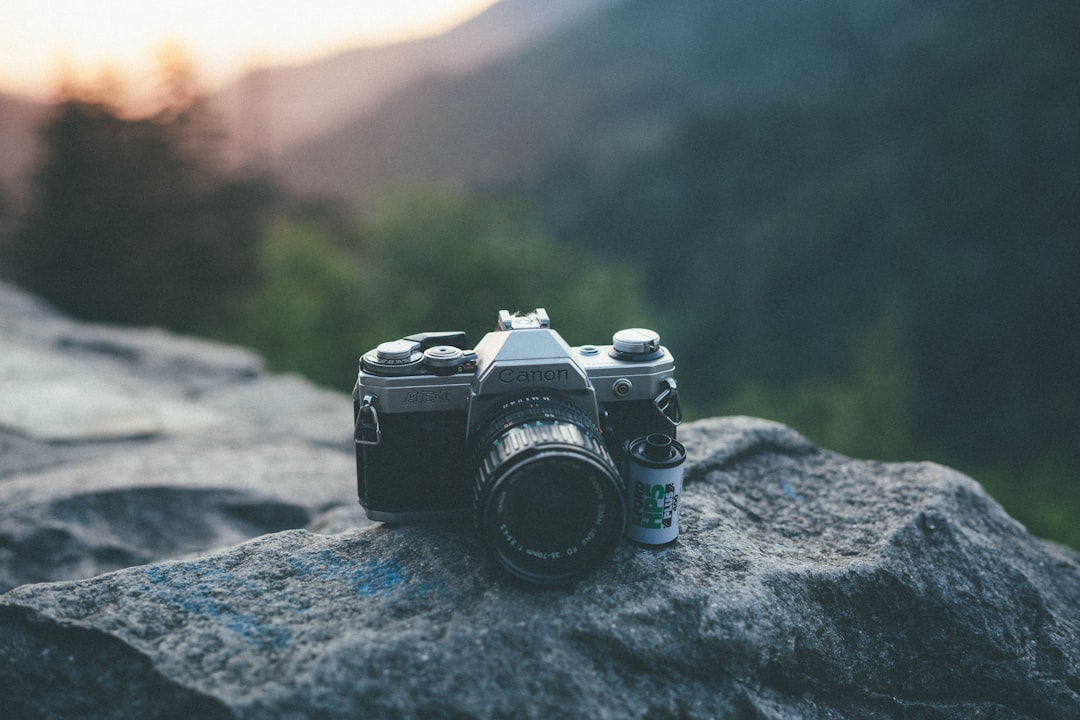
While professional landscape photographers might use expensive gear, beginners can start with more modest equipment:
- Camera: A DSLR or mirrorless camera is ideal, but even a good smartphone camera can produce impressive results.
- Lenses: A wide-angle lens (16-35mm) is perfect for capturing expansive scenes.
- Tripod: Essential for stability, especially in low light conditions.
- Filters: Graduated neutral density filters help balance exposure between bright skies and darker foregrounds.
- Remote shutter release: Helps prevent camera shake during long exposures.
Mastering Composition
Composition is perhaps the most crucial aspect of landscape photography. Here are some fundamental principles:
The Rule of Thirds
Divide your frame into a 3×3 grid and place key elements along these lines or at their intersections. This creates a more balanced and interesting composition than simply centering your subject.
Leading Lines
Use natural lines in your landscape (rivers, roads, fences) to guide the viewer's eye through the image and toward your main subject. Leading lines create depth and draw viewers into the scene.
Foreground Interest
Including an interesting element in the foreground adds depth to your image and creates a more immersive experience. This could be rocks, flowers, or any textural element that complements your main subject.
Understanding Light in Landscape Photography
Light is perhaps the most critical element in landscape photography. The quality, direction, and color of light can dramatically transform a scene:
Golden Hour
The hour after sunrise and before sunset provides warm, soft, directional light that adds depth and dimension to landscapes. The low angle of the sun creates long shadows that reveal texture and form.
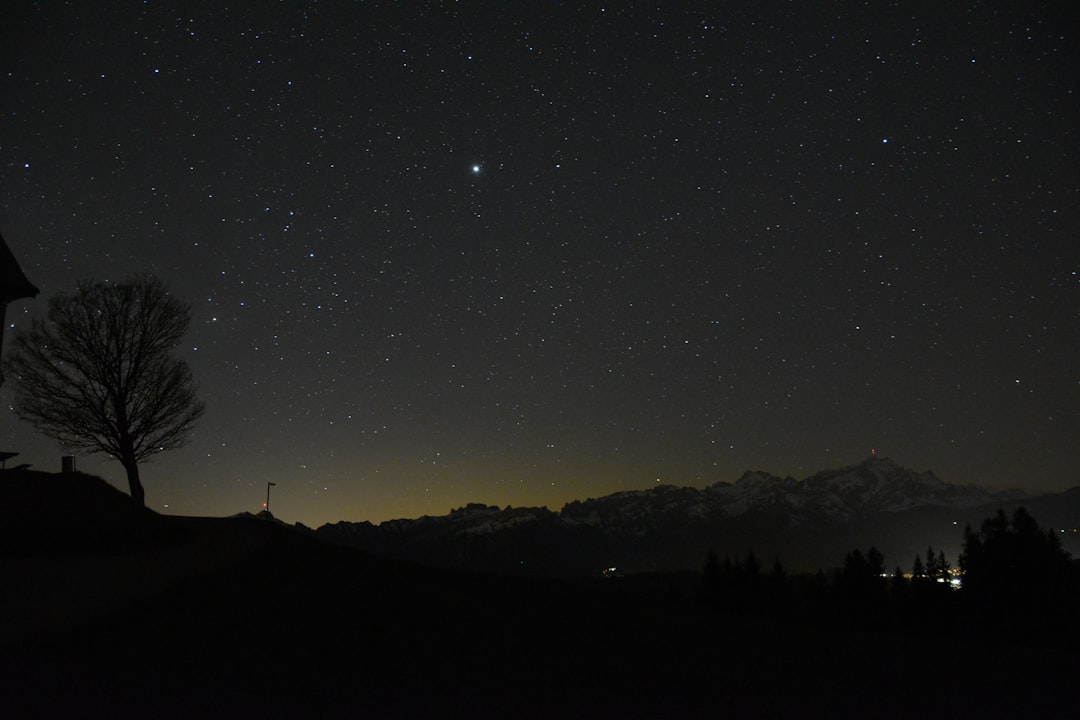
Blue Hour
The period just before sunrise and after sunset when the sky takes on a deep blue hue. This time is perfect for cityscapes or scenes with artificial lighting.
Midday Light
Often avoided by photographers due to harsh shadows and high contrast, midday light can work well for certain subjects like waterfalls (where you might want a faster shutter speed) or in overcast conditions when the clouds act as a natural diffuser.
Camera Settings for Landscape Photography
Understanding your camera settings is crucial for capturing the scene as you envision it:
Aperture
For maximum depth of field, use a small aperture (large f-number) like f/11 or f/16. This ensures that both foreground and background elements are in focus.
Shutter Speed
With your camera on a tripod, you can use longer shutter speeds without worrying about camera shake. This is particularly useful in low light conditions or when you want to create effects like silky smooth water.
ISO
Keep your ISO as low as possible (usually 100 or 200) to minimize digital noise and maximize image quality.
Focus
For most landscape scenes, focus about one-third of the way into the scene (at the hyperfocal distance) to maximize depth of field.

Weather and Planning
Successful landscape photography often requires planning and adaptability:
- Research locations: Scout potential shooting spots in advance using maps, photography websites, and apps.
- Check weather forecasts: Different weather conditions create different moods in your images.
- Track the sun: Use apps like PhotoPills or The Photographer's Ephemeris to predict the position of the sun at your location.
- Be patient: Sometimes the best shots come after waiting for the perfect moment of light or weather.
Post-Processing Tips
Post-processing is an essential part of modern landscape photography. Here are some basic adjustments that can enhance your images:
- Exposure adjustments: Correct any over or underexposure issues.
- Contrast and clarity: Enhance the depth and definition in your image.
- Color adjustments: Fine-tune white balance and saturation to match your vision.
- Graduated filters: Digital graduated filters can help balance exposure between sky and foreground.
- Sharpening: Apply selective sharpening to enhance details without increasing noise.
Remember that post-processing should enhance your image, not completely transform it. Aim for natural-looking results that represent what you saw and felt when taking the photograph.
Conclusion
Landscape photography is a journey of continuous learning and improvement. Don't be discouraged if your early attempts don't match your expectations – each experience in the field teaches you something valuable. Take time to analyze your images, learn from mistakes, and most importantly, enjoy the process of connecting with nature through your camera.
As you develop your skills, you'll begin to see the world differently, noticing light, patterns, and compositions that others might miss. This heightened awareness is perhaps the greatest gift that landscape photography offers.


Comments (5)
David Smith
May 16, 2024Thank you for this comprehensive guide! The section on composition was particularly helpful for me as a beginner. I've been struggling with creating depth in my landscape photos, and your tips on foreground interest made a lot of sense.
Jennifer Lee
May 16, 2024What are your thoughts on using smartphone cameras for landscape photography? I'm not ready to invest in a DSLR yet but still want to improve my landscape shots.
Sarah Johnson
May 16, 2024Great question, Jennifer! Modern smartphones can capture impressive landscape images, especially in good light. Focus on composition and timing, use HDR mode for high-contrast scenes, and try using a small tripod for stability. Many phones also offer manual controls now, which gives you more creative flexibility.
Add Your Comment